How to Choose the Best UV Curing Light Source for Your Needs?
Choosing the right UV curing light source is crucial for your projects. With various options available, it can be overwhelming. A suitable UV curing light source can significantly impact efficiency and quality in applications like printing, coatings, and adhesives.
Understanding your specific needs is essential. Factors such as wavelength, intensity, and curing speed play a significant role in the selection process. Investing in a high-quality UV curing light source can improve production outcomes. However, the market is full of options that may lead to confusion.
Evaluate your requirements carefully. Reflect on whether you need portability or fixed installations. It’s not just about picking a high-end model; sometimes, a simpler option might serve your purpose just as well. Explore user reviews and expert opinions to build your knowledge about different products. Ultimately, the right UV curing light source can make a difference in your work.

Understanding UV Curing Light Sources: Types and Technologies
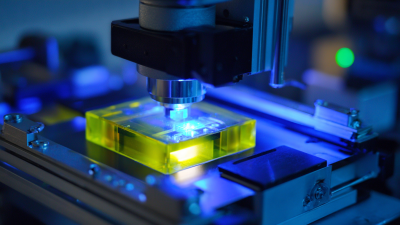
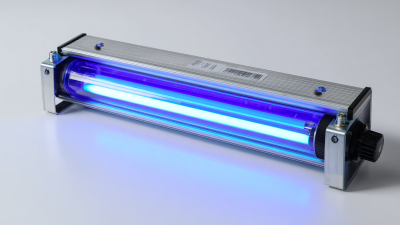
When selecting a UV curing light source, understanding the different types and technologies is crucial. UV curing technology primarily includes UV-LED and traditional mercury lamps. UV-LEDs are known for their energy efficiency and longer lifespan. They generate less heat, making them suitable for heat-sensitive materials. On the other hand, mercury lamps provide a broad spectrum of UV light, offering faster curing speeds for specific applications.
Furthermore, each technology has its advantages and drawbacks. For example, while UV-LEDs are reliable, they may have a higher initial investment. Mercury lamps, with their established effectiveness, consume more energy and require frequent bulb replacements. Deciding between these options can be challenging. It’s essential to consider not only the curing speed but also the operational costs and material compatibility.
Evaluating your specific needs is key. Ask yourself: What materials will you be curing? Will your production process demand faster curing times? Engaging with professionals can provide insights into the right choice for your context. Remember, there is no one-size-fits-all solution. Each application may require a tailored approach to UV curing technology. It's a journey with constant learning and adjustments.
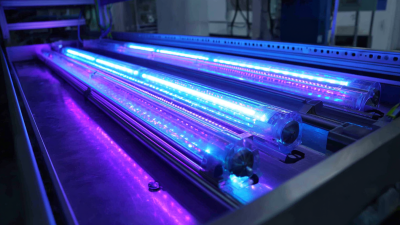
UV Curing Light Sources Comparison
Key Factors for Choosing the Right UV Light Intensity
Choosing the right UV light intensity is crucial for effective curing processes. The intensity should match your specific application needs. Research indicates that higher intensity does not always mean better results. For instance, a study shows that 365 nm wavelength can provide sufficient curing for most adhesives, while 405 nm can be effective for more challenging substrates.
When selecting a UV light source, consider the type of material you are curing. Thin films require lower intensity, around 100-300 mW/cm², while thicker materials may need up to 1000 mW/cm². Understanding these requirements will help you avoid overexposure or insufficient curing.
Tip: Always evaluate the compatibility of your materials with various UV wavelengths. Testing samples can save time and resources. Remember, a one-size-fits-all approach rarely works without adjustments. Consider the potential variations in light intensity across the curing area. Regular calibration and monitoring of your UV equipment ensure consistent results.
Evaluating Wavelength Requirements for Specific Materials
When selecting a UV curing light source, understanding the wavelength requirements is crucial. Different materials absorb UV light at specific wavelengths, which directly affects the curing process. For instance, acrylics typically cure well at 320 to 350 nm, while epoxies often require wavelengths in the 250 to 300 nm range. According to a report by the European Coatings Journal, improper wavelength selection can lead to incomplete curing, resulting in poor adhesion and durability.
Tips: Always consult material datasheets for precise curing specifications.
Moreover, the effects of ambient conditions cannot be overlooked. Temperature and humidity can greatly impact how materials cure under UV light. A study published in the Journal of Applied Polymer Science indicates that a 10% increase in humidity can slow down the curing process by as much as 20%. Experimenting with different settings may reveal optimal results, yet this can be time-consuming and costly.
Tips: Monitor environmental conditions closely during curing.
Properly matching light wavelengths to your materials ensures efficiency and quality. Remember, suboptimal curing leads to potential failures in product performance. Investing time in research and understanding the chemistry of your materials can lead to significant improvements. Relying on established industry data is essential; it helps avoid costly mistakes in the production process.
How to Choose the Best UV Curing Light Source for Your Needs? - Evaluating Wavelength Requirements for Specific Materials
| Material |
Optimal Wavelength Range (nm) |
Curing Time (Seconds) |
Application |
| Acrylic |
320 - 365 |
10 - 30 |
Coatings and Inks |
| Epoxy |
300 - 365 |
20 - 60 |
Adhesives and Sealants |
| Polyester |
320 - 400 |
30 - 45 |
Printing and Coatings |
| Silicone |
320 - 360 |
15 - 45 |
Molding and Encapsulation |
| Vinyl |
350 - 400 |
5 - 20 |
Labels and Graphics |
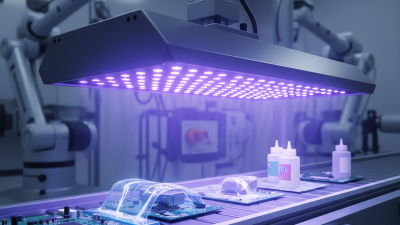
Assessing Cost-effectiveness of Different UV Curing Solutions
When considering UV curing solutions, cost-effectiveness often takes center stage. Different UV curing light sources vary widely in price and performance. It's essential to assess how these factors align with your specific needs. For small businesses, lower upfront costs may seem appealing. However, the long-term savings from higher-quality equipment are often overlooked. A UV light that cures faster can increase productivity, reducing operational costs over time.
Understanding the technical specifications is crucial. Some UV lamps have higher wattage but may consume more energy. Lower wattage options can be less effective, leading to longer curing times. This means additional energy costs and possible delays in production. Consider the maintenance costs as well. Cheaper models might require more frequent replacements or repairs.
While initial investment matters, the overall lifecycle cost is key. Reflect on how often you will use the device. Will it handle your production volume? Look for solutions that offer reliability and efficiency. Balancing the budget with quality ensures a better return on investment. It’s worth investing time in research to avoid costly mistakes down the line.
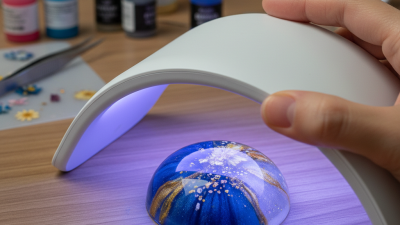
Safety Considerations and Best Practices for UV Light Usage
When working with UV curing light sources, safety should be a top priority. UV light can be harmful to the skin and eyes. Proper protective equipment, such as goggles and gloves, is essential. Even if your light source is well-designed, occasional mishaps can occur. A simple oversight can lead to serious exposure.
Understanding the specific wavelength and intensity of UV light you're using is crucial. Different applications require different specifications. Always refer to safety data sheets that outline the risks associated with exposure. Regularly inspect your equipment for worn or damaged parts. A faulty lamp can accidentally increase exposure.
Tips for safe usage include keeping skin covered and minimizing direct exposure. Ensure the work area is well-ventilated to avoid accumulating harmful fumes. Educate all personnel about the risks and best practices. Regular training sessions can help reinforce safe behaviors. Remember, even minor oversights can lead to regrettable outcomes. Always stay alert and attentive when operating UV equipment.