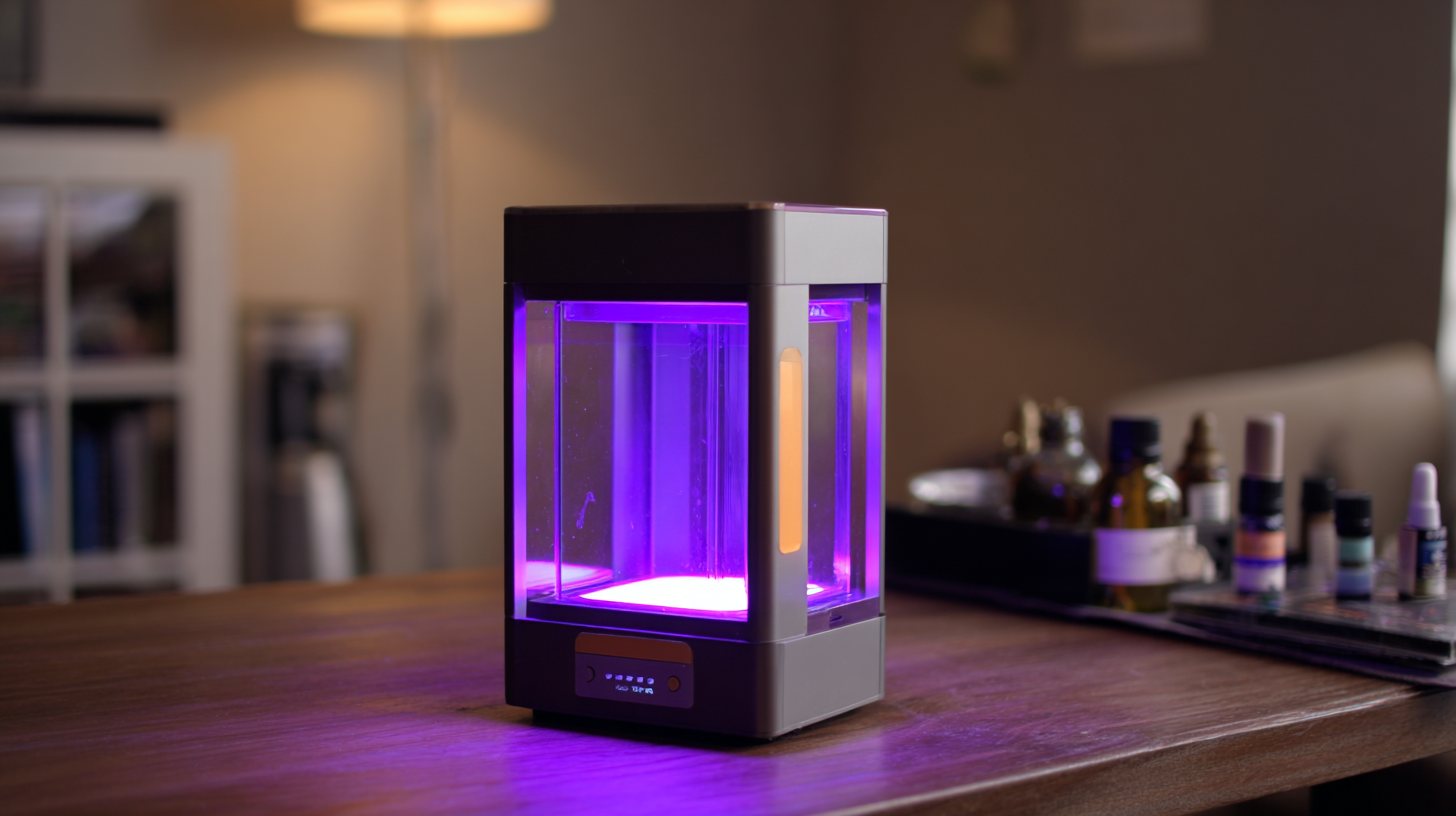
How to Maximize Efficiency with Uv Glue Curing Lamps in Your Projects
In today's fast-paced manufacturing environment, maximizing efficiency is crucial for staying competitive, particularly in sectors that utilize UV glue curing technology. A recent report from Smithers Pira indicates that the global UV curing market is expected to reach $3.5 billion by 2025, driven by increasing demand for faster curing processes and higher productivity. The Uv Glue Curing Lamp has emerged as an essential tool in this context, offering rapid curing times and enhancing adhesion properties across various materials. By effectively harnessing the capabilities of Uv Glue Curing Lamps in their projects, manufacturers can significantly reduce production times, minimize waste, and ensure superior product quality. As we explore strategies to optimize the use of these lamps, it's imperative to consider best practices that not only improve efficiency but also align with industry standards and regulations.
Understanding the Basics of UV Glue and Its Curing Process
UV glue, or ultraviolet adhesive, is a specialized bonding agent that solidifies when exposed to UV light. This unique curing process is what sets UV glue apart from traditional adhesives, offering significant advantages in various applications. When UV light shines on the glue, it triggers a photochemical reaction, leading to rapid polymerization. This allows projects to achieve strong bonds in just a matter of seconds, which is ideal in industries that prioritize speed and efficiency.
Understanding the curing process is vital for maximizing the effectiveness of UV glue. The intensity and wavelength of the UV light, as well as the distance from the lamp to the adhesive, all play crucial roles in determining the quality of the bond. Proper equipment setup can lead to optimal curing results, ensuring that the adhesive forms a durable and reliable connection without the need for prolonged drying times. By mastering these basics, users can harness the full potential of UV glue, streamlining workflow and enhancing project outcomes across various fields.
How to Maximize Efficiency with UV Glue Curing Lamps in Your Projects
| Project Type |
UV Glue Type |
Curing Time (seconds) |
Efficiency Rating (1-5) |
Notes |
| Electronics Assembly |
Industrial UV Glue |
20 |
5 |
Fast curing and high strength |
| Plastic Bonding |
Flex UV Adhesive |
30 |
4 |
Allows for slight movement |
| Jewelry Making |
Clear UV Resin |
15 |
5 |
High clarity and glossy finish |
| Craft Projects |
Multi-Purpose UV Glue |
25 |
3 |
Versatile but slower curing |
| Glass Assembly |
Glass UV Adhesive |
40 |
5 |
Excellent for transparent surfaces |
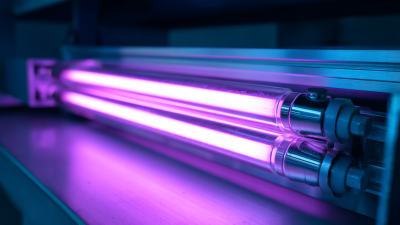
Choosing the Right UV Glue Curing Lamp for Your Specific Projects
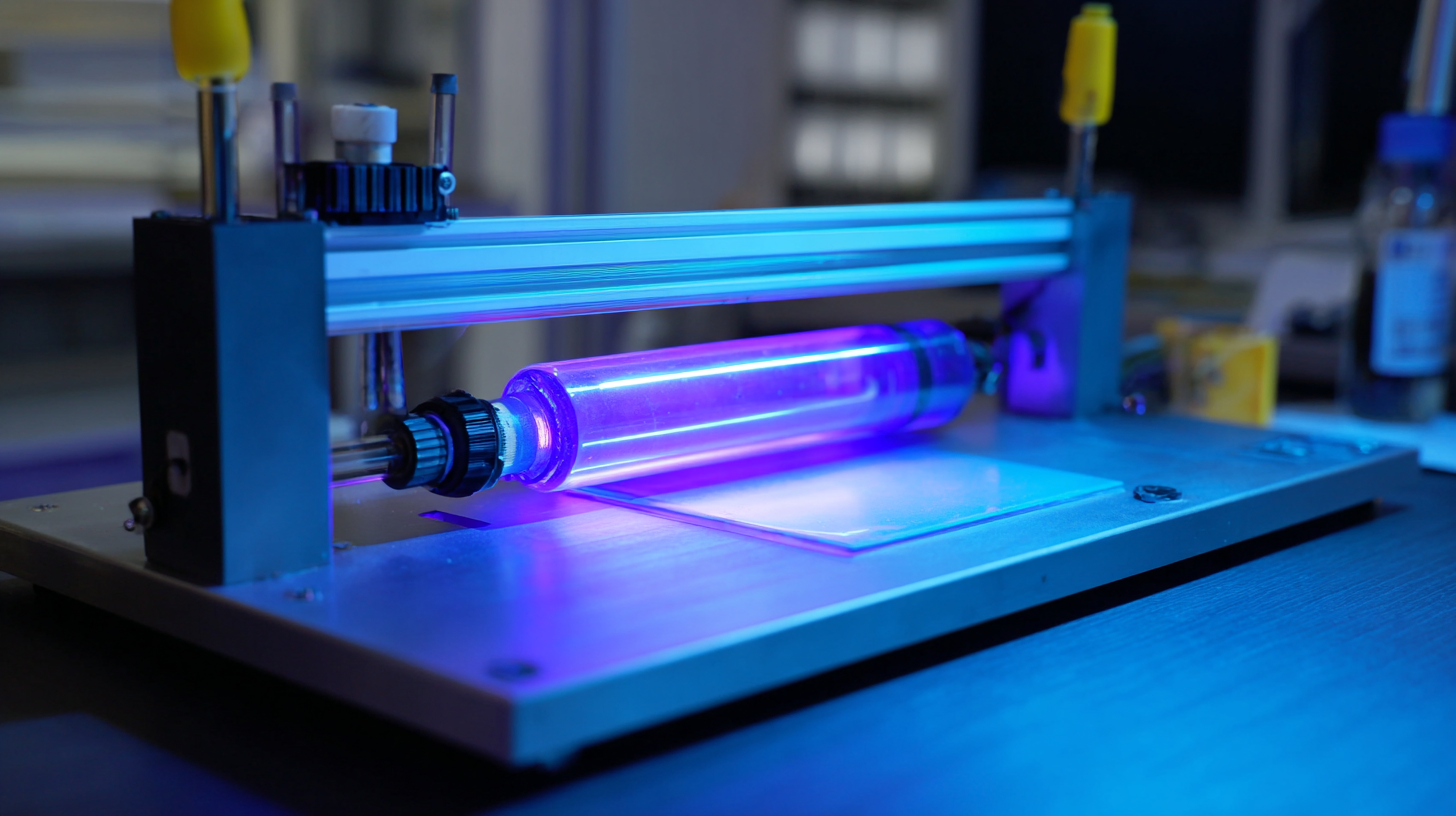
When selecting a UV glue curing lamp for specific projects, it is essential to consider the type of materials you are working with. Different UV adhesives require varying wavelengths for optimal curing, so identify the adhesive's specifications. For instance, some UV glues perform best under short-wave UV light, while others may need long-wave UVA light. Understanding these requirements will help you choose a lamp that not only cures more efficiently but also avoids issues such as incomplete bonding or excessive heat generation.
Another crucial factor is the lamp's intensity and exposure time. Higher-intensity lamps can significantly reduce curing time, making them ideal for larger projects or when working with multiple items simultaneously. However, be mindful of the potential for overheating and joint failure if the power is too high for the materials used. Additionally, consider the design and size of the lamp to ensure it fits your workspace and allows for even distribution of light across the curing area. By carefully evaluating these aspects, you can select the right UV glue curing lamp to enhance productivity and ensure high-quality results in your projects.
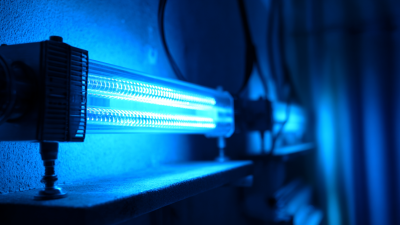
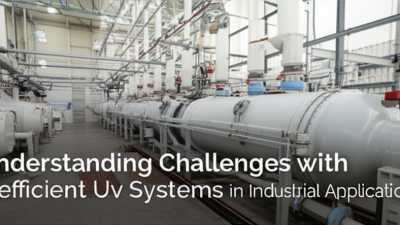
Efficiency of UV Glue Curing Lamps in Various Applications
Optimizing Curing Conditions for Maximum Efficiency and Adhesion
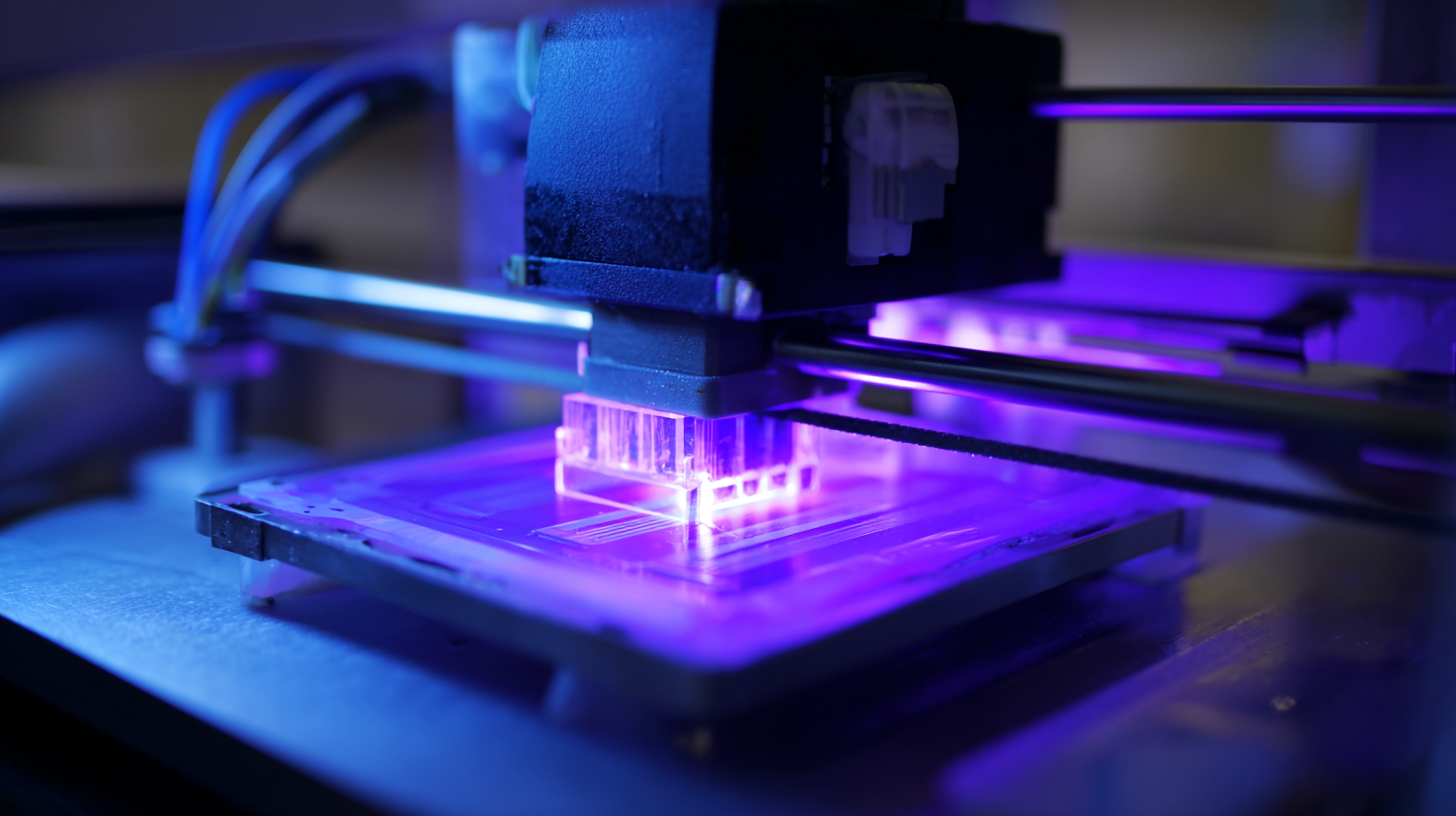
Optimizing curing conditions is crucial when working with UV glue curing lamps to achieve maximum efficiency and adhesion in your projects. The intensity of the UV light emitted by the lamps plays a significant role in the curing process. It is essential to select the appropriate lamp with the right wavelength, typically between 320 to 400 nm, to activate the photoinitiators in the glue. Ensuring that the light source is positioned correctly and at an adequate distance can enhance the curing speed and quality, allowing for faster project turnaround.
Additionally, the ambient temperature and humidity during the curing process can greatly affect adhesion. It is recommended to maintain a stable environment, ideally at room temperature and with moderate humidity levels. Conducting tests with different curing times can also help identify the optimal duration for your specific adhesive type, thus ensuring a strong bond and reducing the chances of incomplete curing. By paying close attention to these factors, you can significantly improve the efficiency of your projects while enhancing the overall performance of the UV gluing process.
Best Practices for Application and Safety when Using UV Glue
When utilizing UV glue curing lamps in your projects, adhering to best practices is essential for ensuring both effective application and safety. According to a report by the Adhesive and Sealant Council, improper use of UV curing technologies can lead to suboptimal bonding, resulting in decreased product durability and increased project costs. To maximize efficiency, it's crucial to maintain a clean workspace free from contaminants that can impair adhesive performance. Operators should also ensure that surfaces are appropriately prepared, as rough or dirty surfaces can hinder the curing process.
Safety should be a top priority when using UV curing lamps. The American National Standards Institute (ANSI) emphasizes the necessity of protective gear to safeguard against exposure to UV radiation. Proper goggles, gloves, and protective clothing are essential to prevent skin and eye injuries. Additionally, maintaining proper ventilation in the workspace helps in dispersing any potentially harmful fumes emitted during curing. Studies indicate that maintaining an optimal distance from the UV lamp, ideally between 6 to 12 inches, can further enhance efficiency while reducing exposure risks. Implementing these best practices not only enhances project outcomes but also fosters a safer working environment.
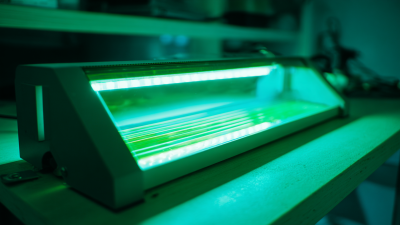
Troubleshooting Common Issues in UV Glue Curing Techniques
When working with UV glue curing techniques, common issues can often arise that may hinder the efficiency of your projects. One prevalent problem is the inadequate exposure time to the UV light. If the glue is not cured for a sufficient duration, it may not reach its intended strength, leading to weak bonds. To troubleshoot this, ensure your UV lamp is suitable for the adhesive you are using, and adjust the curing time based on the manufacturer's recommendations. Regularly checking the intensity of the UV light can also help in achieving optimal results.
Another frequent challenge is the uneven curing of the adhesive. This can occur if the UV light is not uniformly distributed over the bonding area. To mitigate this issue, consider rotating the project or using multiple lamps to ensure even exposure. Additionally, the distance between the lamp and the surface should be monitored; too far could result in ineffective curing, while too close may cause overheating. Keeping these factors in mind can significantly improve the efficiency and quality of your UV glue projects, leading to smoother and more reliable finishes.